1.Go to the internet and download the Audacity software.This link maybe useful "http://www.filehippo.com/".
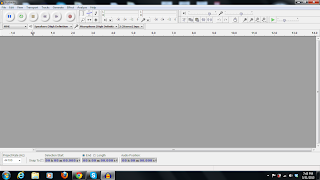
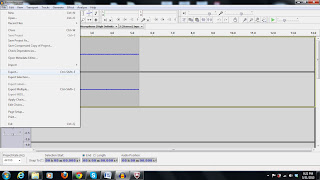
2.Once the Audacity is downloaded and installed it will looks like this
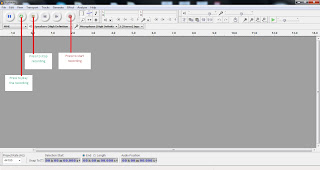
3.The functions are as follows
4.If more editing necessary,like adding a background music or amplifying the recording sound or variating the sound between background music and the recording; can follow these snap shots below.
a.Adding background music

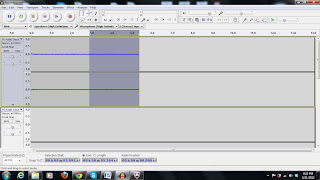
b.Amplifying
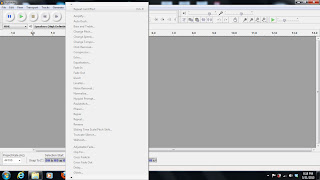
c.Deleting a part of recording,The part that is unwanted and press delete button in the keyboard.
d.Saving the recording
5.When the recording is saved,the next thing to be done is to go internet again and get sign up to sound cloud.After sign up ,get sign in to it.Once sign in the window will show like this
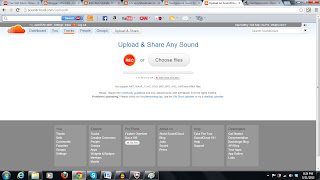
6.Then press the upload button and upload the recording.Once uploaded,go to the share button to take the link to the bolg.Care should be taken to copy the correct link.It is shown as it is

7.Now open the new posting window of the blog and click html and then paste the copied link from sound cloud.Then press publish.
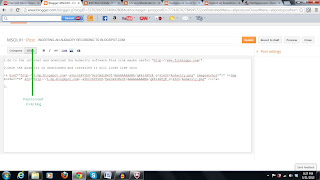
8.Now the recording form Audacity is uploaded into the blog spot.
Thank you